How to Design a Logo with DrawPad

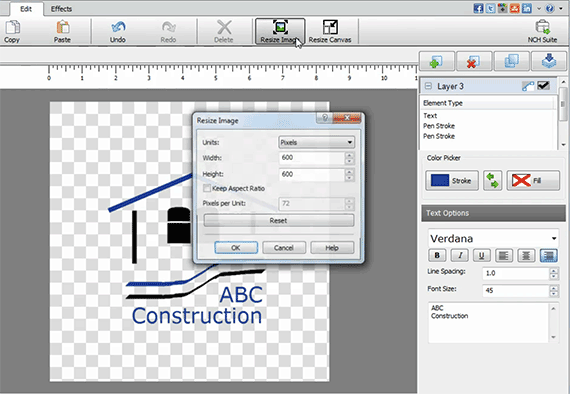
DrawPad Graphic Editing Software gives you the ability to make a logo that is both unique and easily scalable.

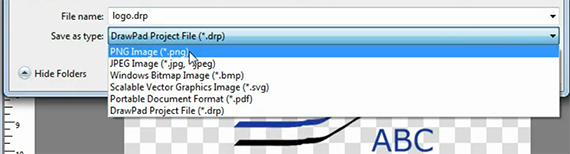
You will want to design a logo that has a vector format. A vector graphic is based on mathematics, so you never lose quality with size. I’m sure that you’ve taken a photo that looked great as a 4x6, but suddenly became blurry when you enlarged it to 16x20. With a vector-based logo, you can go from the size of a postage stamp to the size of a billboard with the same level of quality.

DrawPad is vector based and a free graphic editor.

To get started designing your logo, you will need the following:

  • An idea for your logo design
  • Your company name
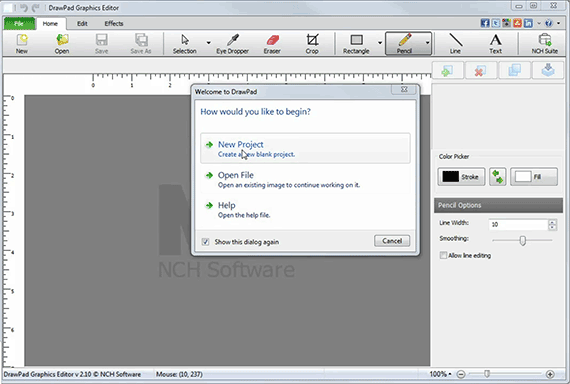
  • Download DrawPad, free graphic design editor
Download DrawPad Logo Maker Software

Download Now


  1. Open DrawPad and select New Project from the welcome window.
    Select New Project to make logo
  2. Use the Color Picker to select the first color in your logo. For the purposes of this tutorial, we will be designing a construction company logo.
    Using the Color Picker
  3. Select a drawing tool on the Home Tab toolbar to get your logo started. I am going to use the Line Tool to form a rooftop.
    Drawing Tools
  4. Use the Options menu in the right panel to make adjustments to your element. I am increasing the line width.
    Options Panel
  5. Use the element's resize handles to resize an element.
    Using Resize Handles
  6. Experiment with the different tools to bring your logo vision to life. I am going to use the Rectangle Tool with Fill to create windows.
    Using the Drawing Tools
  7. Use Copy and Paste on the Edit Tab to create a duplicate element. Or, use the keyboard shortcuts, Ctrl+C and Ctrl+V.
    Copy and Paste
  8. Use the Element Selection tool to move an element to a new position.
    Select Tool
  9. Overlap shapes to create new shapes. I am going to use the Ellipse Tool to complete my windows.
    Overlap Shapes to Make New Shapes for Logo
  10. To duplicate a previously used color, use the Eyedropper tool in the Edit Colors window. I want to make sure that my next element matches my rooftop.
    Select Colors with Eyedropper Tool
    • Make sure to set the Fill Opacity to 0% if you do not need it for your current element. The Fill box in the color picker will change to a red "X" when opacity is set to 0%.
      Remove Object Fill
  11. To edit an element, use the Element Selection tool to select it. Then, use the Options in the right panel. You can change the color, line width and more. Each tool has different options.
    Element Selection Tool to Edit
  12. Use the Text tool to add a company name.
    Add Text to Your Logo
  13. It's that easy to make a unique, custom logo. Make sure to save your file as a .drp. This maintains the vector format, so that you can always resize it, edit colors and make other changes without losing quality.
    Save File in .drp Vector Format
  14. The resize function is on the Edit tab.
    Resize Logo without Loss of Quality
  15. Use Save As to format your file for web or print. You can export your vector image to an .ico, .png, .jpg, .svg and more. Choose the format that best fits your current needs.
    Save Logo to Popular Image Formats


Like what you see?

Download DrawPad here:

Download Now

Simply download and install DrawPad to begin designing your custom logo.

Download DrawPad