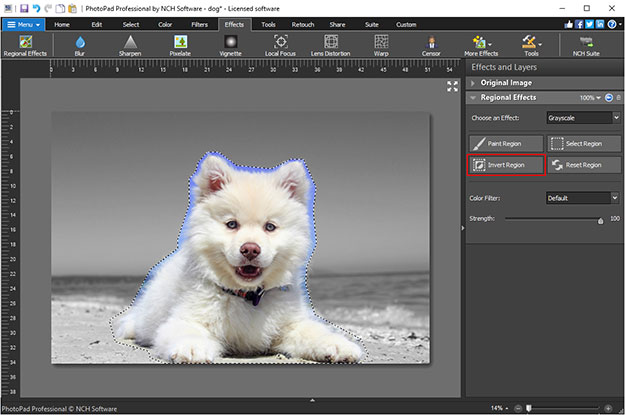
PhotoPad is an easy to use photo editor.
- PhotoPad Photo Editor
- A Windows PC or Mac Computer
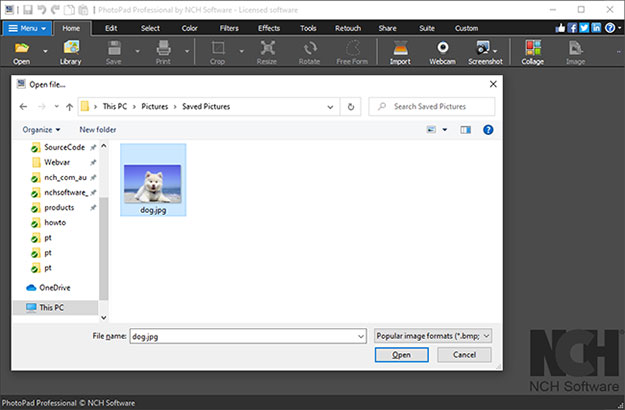
- Images that you would like to edit
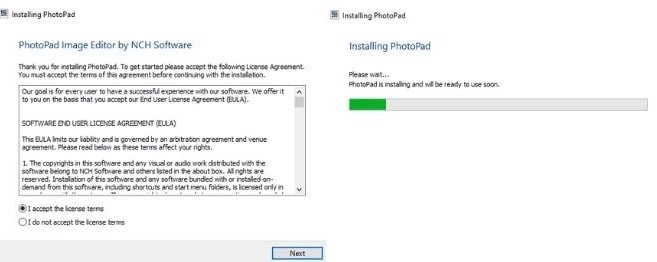
Download, Install and Launch PhotoPad Photo Editor on your computer.

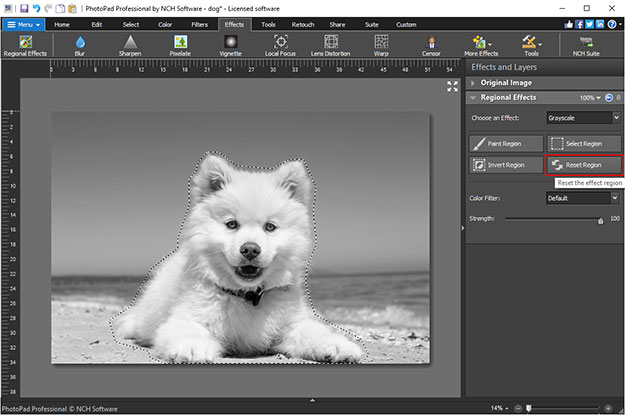
PhotoPad is an easy to use photo editor.
Download, Install and Launch PhotoPad Photo Editor on your computer. | |


Like what you see?Download PhotoPad here: Simply download and install PhotoPad Photo Editor to begin. | |