How to Burn 7z Files to DVD with Express Burn Disc Burning Software
If you want all your data files in one place, burning your 7z files to data DVD is very useful. Whether you need to listen, watch, store, share your data using a DVD player, computer, or media player, having a high-quality 7z burning software is important in making sure there are no restrictions in burning 7z files to DVD. Express Burn is one of the easiest and fastest 7z DVD burners, ensuring your 7z files are burned to data DVD without any loss in quality. This article will show you how to burn 7z files to DVD in 3 easy steps with Express Burn 7z burning software.
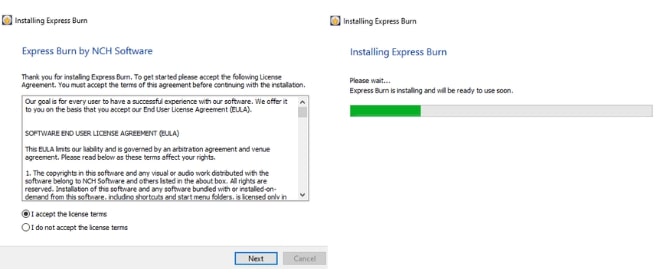
1. Download Express Burn Disc Burning Software
Download
Express Burn Disc Burning Software. Follow the installation instructions and after the installation is completed, insert a blank DVD into your computer and launch Express Burn.
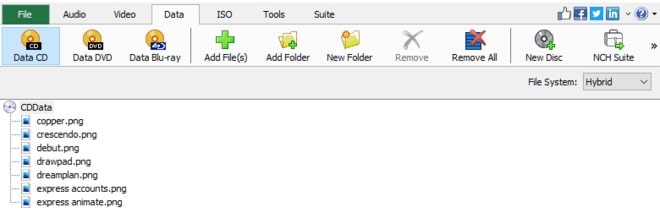
2. Add 7z Files
A dialog box will appear that asks you to select the type of disc you are burning. Select data DVD and click Create. In the top menu bar, click on the Add File(s) or Add Folder button to add your 7z files into the burning program. You can also drag and drop your 7z files directly into the program to burn them as well. If you select a 7z file you don't require on the DVD, right-click and select Remove.
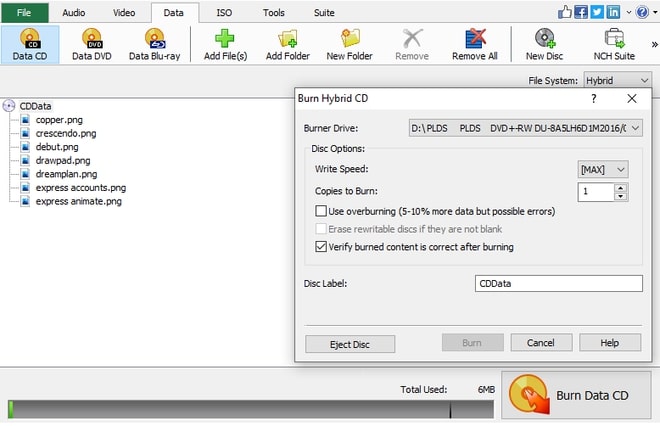
3. Burn 7z files to DVD
Once you have added your 7z files, click on the Burn data DVD button. You will then be presented with additional burn process settings such as the burner drive, write speed, number of copies and more. The default burning speed is the maximum speed allowed by the writer and the media. You can select a slower burning speed at your will. Once you are happy with your settings, click on Burn to begin burning your 7z files to DVD.
All that’s left to do is to sit back and wait for the writing and verification to be completed. On completion, a pop-up will appear letting you know that the burn has been successful and your audio DVD is ready to use.
Like what you see? |  |