How to Blur PNM Images with PhotoPad Photo Editor
There are many reasons why you might want to blur PNM images. Whether you need to remove unnecessary distraction and noise, hide sensitive information or give your PNM image a dreamy look and feel, using the blur effect can help improve the visual quality of your image. With PhotoPad you can either blur the entire image, blur edges of the image or blur specific parts of the image. This tutorial will show you how to blur PNM images in just a couple of clicks.
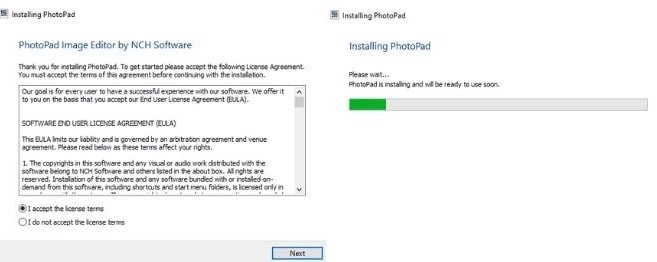
1. Download PhotoPad Photo Editor
Download
PhotoPad Photo Editor. Follow the installation instructions and then launch the program on your computer to begin editing.
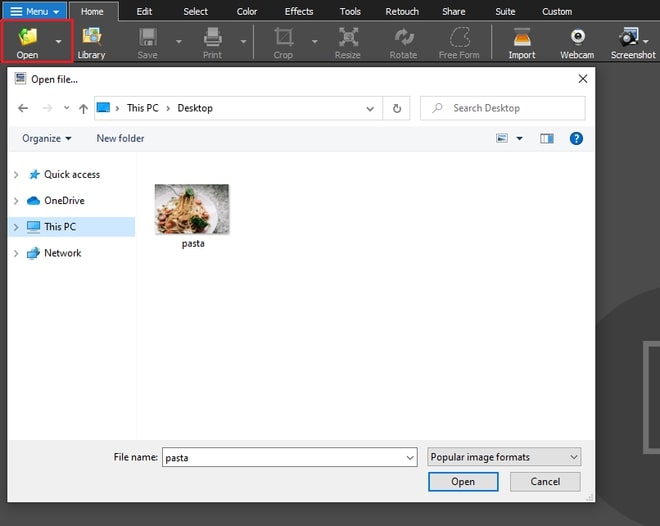
2. Import PNM Image into the Program
Click the Open button, located in the main toolbar to open the file finder window. Find and select the PNM image on your computer and click Open to bring it into PhotoPad to blur it. You can also drag and drop your PNM file directly into PhotoPad.
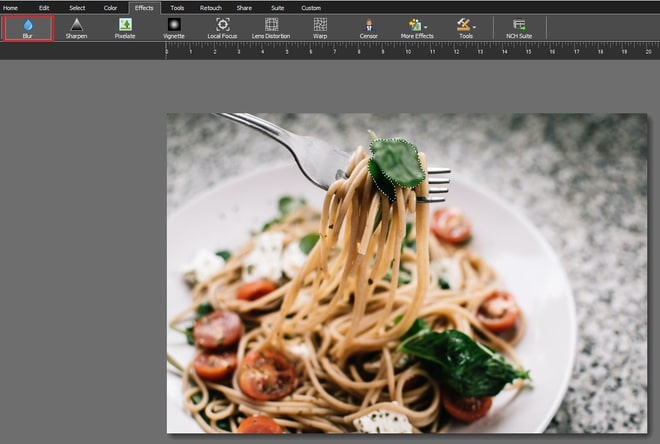
3. Blur PNM Image
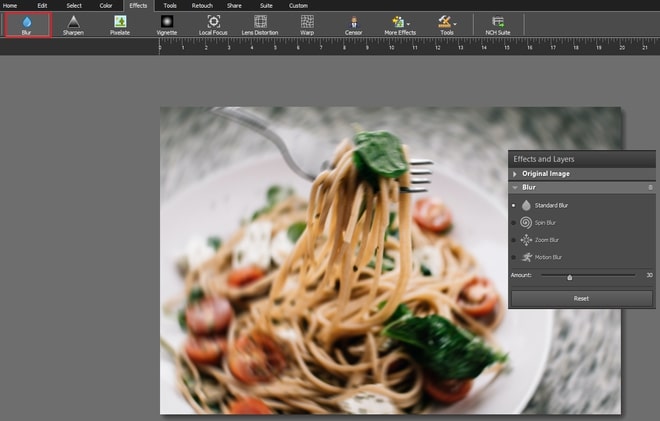
Blur Entire PNM Image
Navigate to the Effects tab in the main toolbar and select the Blur icon to begin blurring your PNM image. Your entire PNM image will automatically be blurred. On the right-hand side, under the Effects and Layers column, you can choose from a range of different blur effects including the default Standard Blur, Spin Blur, Zoom Blur and Motion Blur. You can also change the intensity of the blur effect by adjusting the Amount slider.
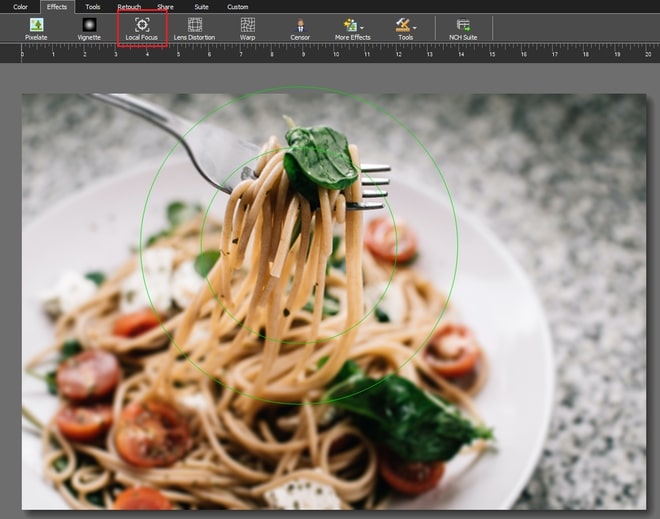
Blur Edges of PNM Image
Under the Effects tab, select the Local Focus icon to blur the edges of your image. Adjust the selected local focus layer in the Properties panel on the right. The area inside the inner circle remains clear while the area outside the other circle will be blurry. Adjust the circles accordingly to soften the edges of your PNM image.
Blur a Specific Part of PNM Image
Under the Select tab, choose your desired selection tool and select the part of the image you wish to blur. Then navigate to the Effects tab and select the Blur icon. A pop-up dialog will ask you whether you wish to apply the blur effect to the Selected Region or the Entire Image. Choose the Selected Region option and only the selected region of the PNM image will be blurred. Use the Properties panel on the right to further adjust the blur effects.
4. Save Blurred PNM Image
Click on the Save button in the main toolbar to save your blurred image. You can save your image as a JPG/JPEG, GIF, ICO, PNG, PSD, TIF/TIFF file. Download PhotoPad PNM Image Editor to blur PNM images today!
Like what you see? |  |
