Burning a video to a DVD is great, but adding a DVD menu will bring your DVD to life. Whether you’re burning a DVD for short films, movies, home films, business presentations, or video compilations, creating DVD menus is a must.
We have all heard the saying, “First impressions matter” and it applies to your DVDs as well. As the first screen your audience sees and the centerpiece of your movie, a DVD menu makes your DVD movie more professional and stands out from the crowd rather than just looking like another low-budget production.
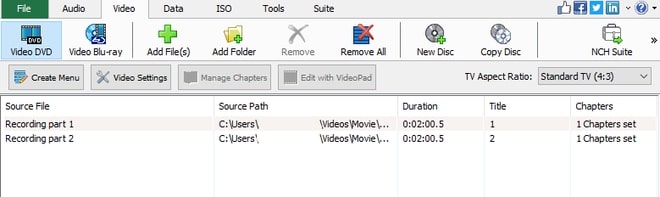
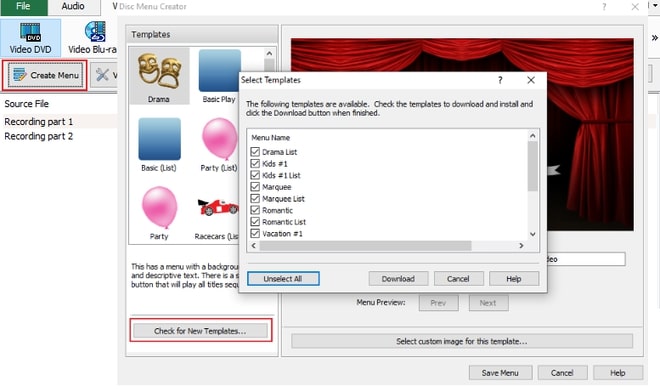
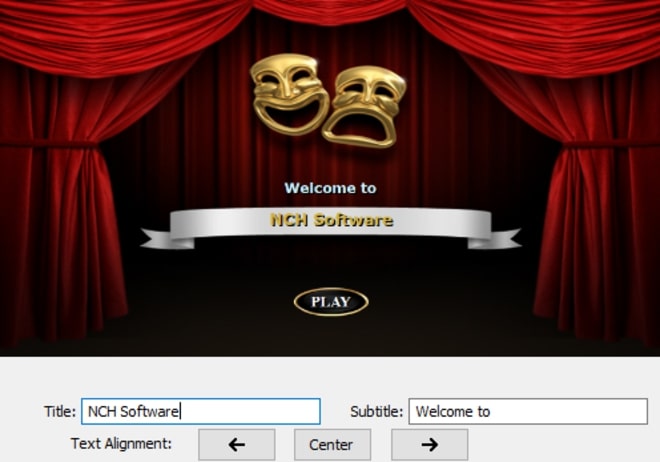
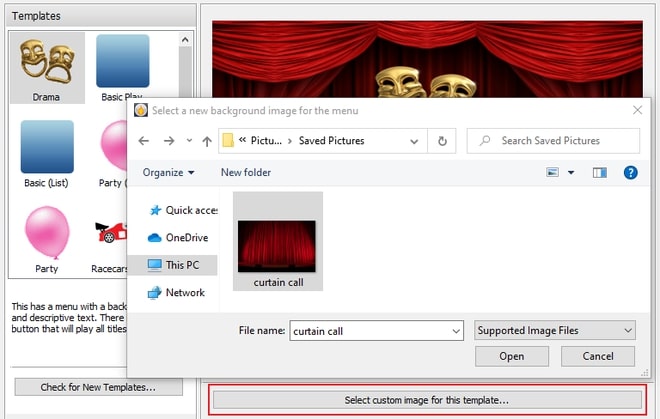
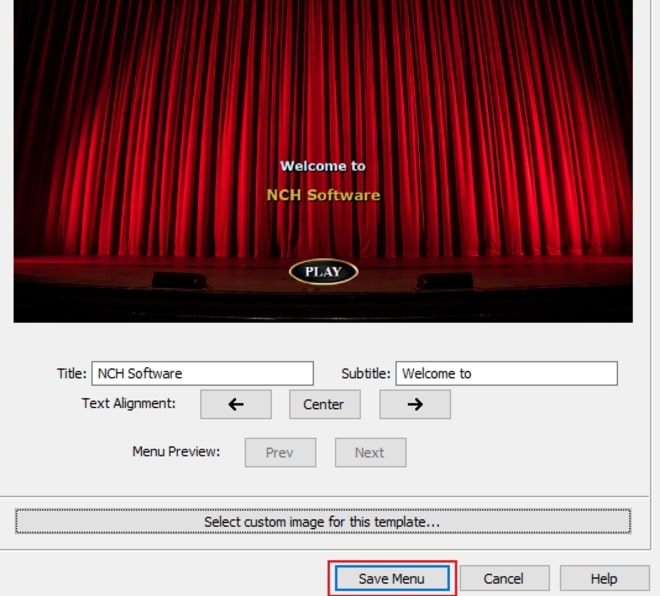
DVD menus allow viewers to easily navigate through the video and choose specific parts or chapters of the video to watch. With Express Burn you can not only burn videos, add DVD chapters, but you can easily apply DVD menu templates and edit them accordingly. Learn how to create a DVD menu in just a couple of steps with Express Burn DVD Menu Maker, one of the best DVD creators available.
- A Windows PC or Mac Computer
- Express Burn Disc Burning Software
- Video File(s)
- Blank DVD