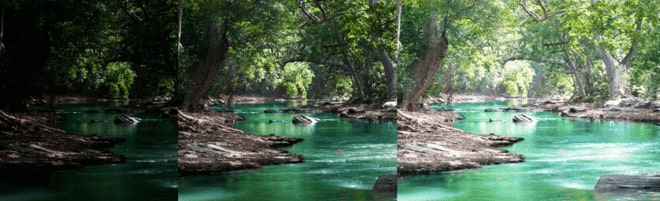
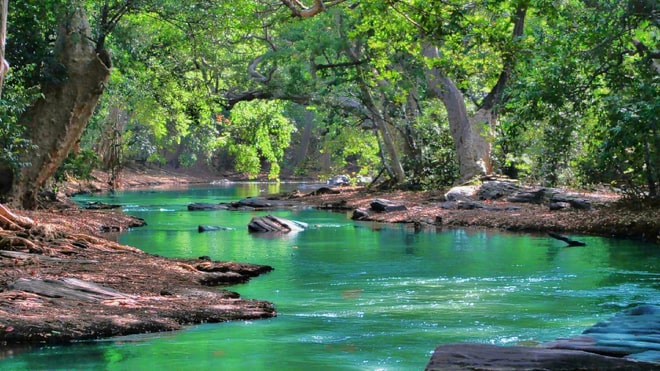
Have you ever come across a beautiful landscape and had the immediate urge to take out your camera and take a photo? Often you will notice that the photo fails to capture the original beauty of the moment, especially when it is a high-contrast scene. With PhotoPad and its sophisticated HDR processing tool, you will learn how to create an HDR image in just a couple of clicks.
HDR Photography or High Dynamic Range photography is the technique of merging multiple images with different exposures to create a single image with overall correct exposure. PhotoPad HDR merger allows you to easily create an HDR image with so much dynamic range and detail that wouldn’t otherwise be achieved with a normal photo.
- PhotoPad Photo Editor
- A Windows PC or Mac Computer
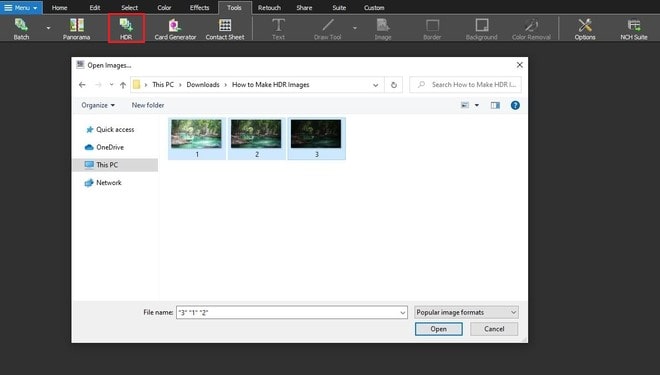
- Images with different exposures (Minimum 3)