A guide on how to edit YouTube videos with VideoPad
Over 30,000 hours of video content are uploaded to YouTube every hour. Whether you’re a YouTuber, a video marketer, or just a YouTube beginner looking to share your creative ideas, you know in order to stand out from the crowd, you need to deliver engaging videos that tell a story, keep viewers on the edge of their seats, and are the perfect length to make them want more.
Creating a professional high-quality YouTube video from hours of footage makes the video editing process one of the essential parts in ensuring your video’s success.
With the help of VideoPad YouTube Editing Software, you have access to all the tools you need to edit videos for YouTube and make professional-looking videos in a matter of minutes.
Click on the Add Files icon to upload your video files. Alternatively, you can drag and drop your videos directly into the VideoPad interface.
Make sure your video’s aspect ratio is 16:9 aspect ratio for optimal YouTube viewing experience.
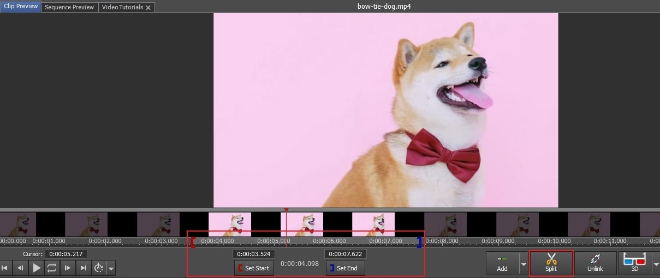
3. Crop and trim videos
In the Clip Preview window, drag the red start and blue stop markers to cut out the uninteresting and lengthy sections of the video. You can split the video into two by dragging the red stop marker and selecting the Split (Scissors) icon.
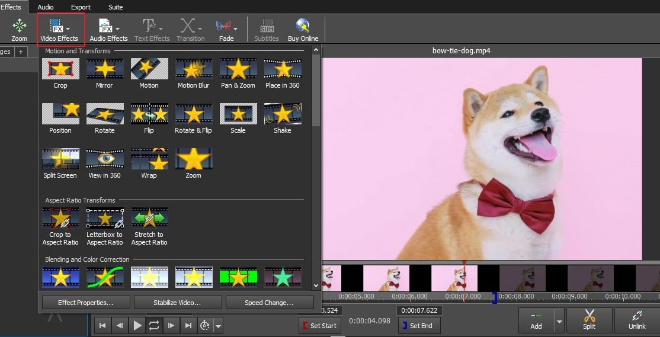
4. Add video effects
Under the Effects tab, select the Video Effects icon in the main toolbar to launch the effects panel. Choose from a range of effects including Crop, Motion, Shake, Auto Levels, Blur & more. Feel free to explore all of them. You can also change an effect’s intensity, selection area and more.
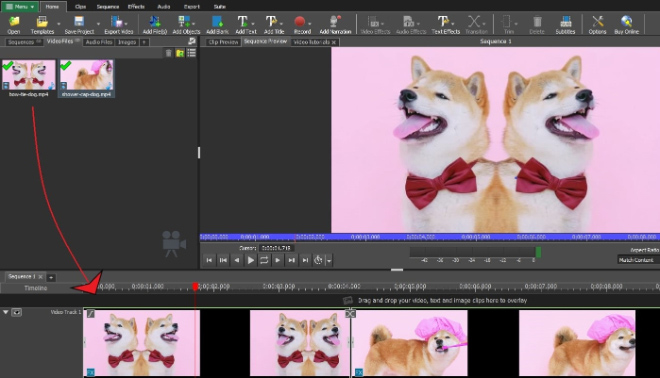
5. Drag your clips into the timeline
Once you have trimmed your videos and added the desired video effects, it is time to place them on the timeline so you can order and rearrange them. Drag and drop your videos from the Video Files Bin into the timeline below it. If the file has a green check, you know it has successfully been added to the timeline.
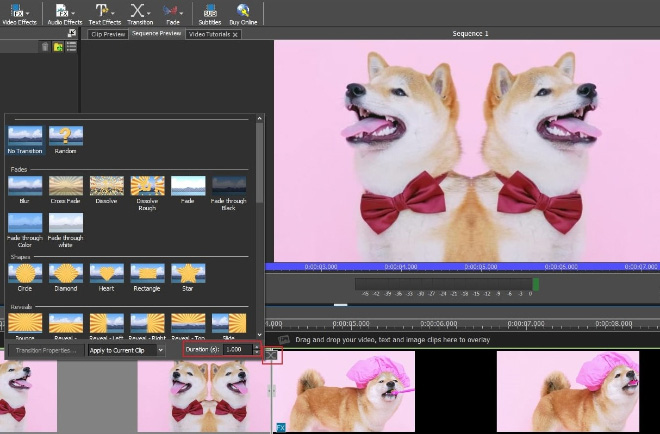
6. Add transitions
Make your video playback seamless with smooth transitions. Click on the 𝒳 icon between any two video clips in your timeline to open the video transitions panel. Choose from a range of different transitions and adjust the duration using the arrow keys or typing the duration value.
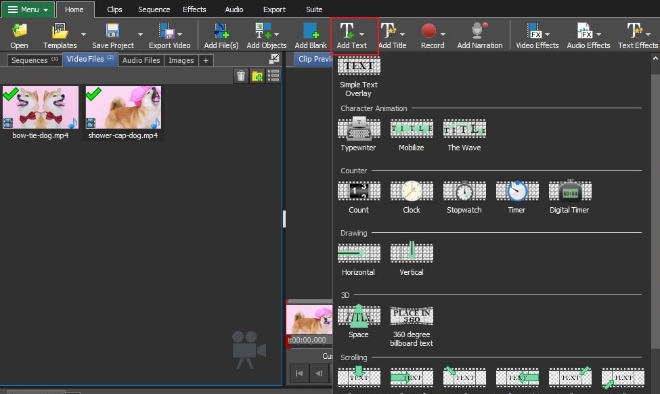
7. Add text
Select the Add Title button or the Texts Effects option in the main toolbar to choose from a range of text overlays. Once you have selected a text effect, type your text into the text box and adjust its style and color.
The first 3 seconds of your YouTube video are critical in determining whether or not the viewer watches the entire video. Make sure to create an intro that is simple and catchy!
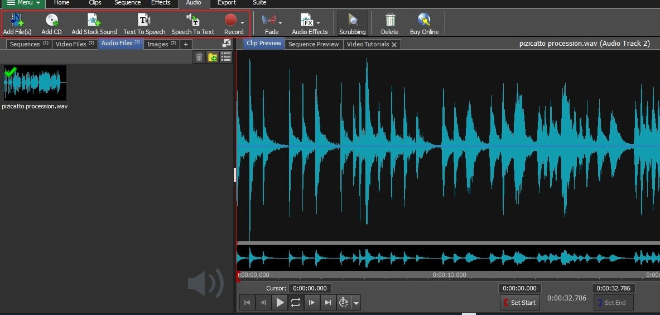
8. Add audio effects
Import an audio file by selecting the Add Files button and add the audio file to the timeline. Select the audio file and navigate to the Audio Effects tab or double-click on the file to launch the audio effects panel. Apply the desired audio effects such as normalization, noise removal, amplification and more.
You can also record audio directly in VideoPad for narrations, import audio from a CD, add free stock audio or convert text to speech.
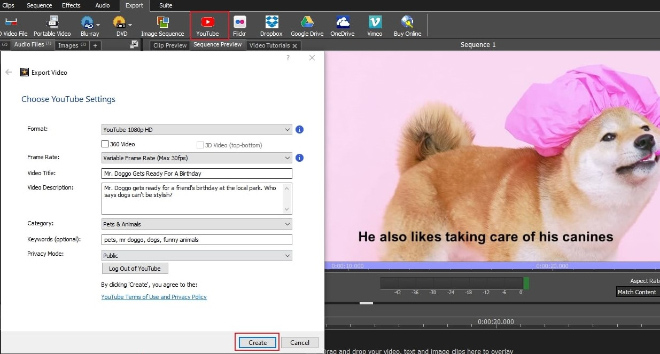
9. Export to YouTube
Once your video is ready to be uploaded, navigate to the Export section and click on the YouTube icon. Select your desired YouTube format, resolution, and frame rate. Add your title, description and other settings, then click on Create to link your YouTube account and upload your video.
One of the best ways to ensure a viewer clicks to watch your video is to create a beautiful eye-catching video thumbnail. Download PhotoPad to create high-quality YouTube thumbnails quickly.