How-to Guides

How to Make and Print CD Labels
A guide to demonstrate how to make and print CD labels.
Making a CD Label using Disketch is easy. Keep your personal CD collection more organized or add a personal touch to a gift.
Download, Install and Launch Disketch CD Label Maker on your computer. |  |
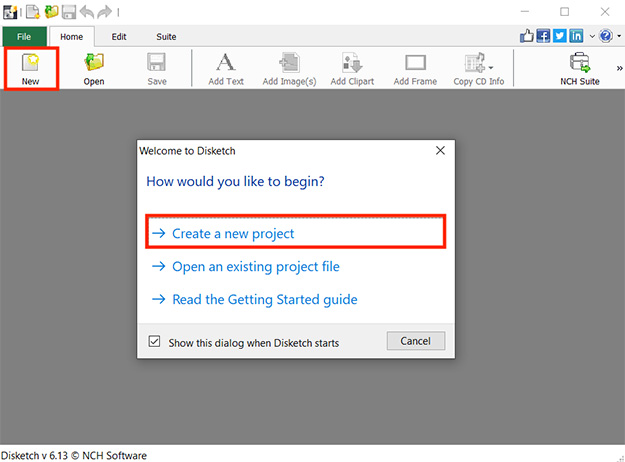
- Add a file by clicking new on the Home toolbar or selecting Create A New Project on the start screen. This will open the Select Label Layout dialog.
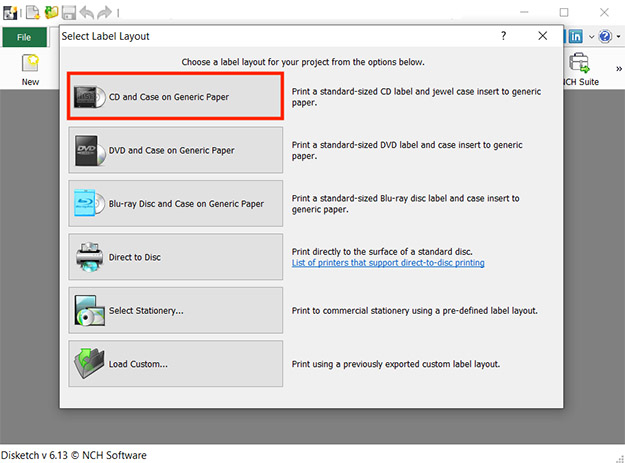
- Click CD and Case on Generic Paper option from the Select Label Layout window.
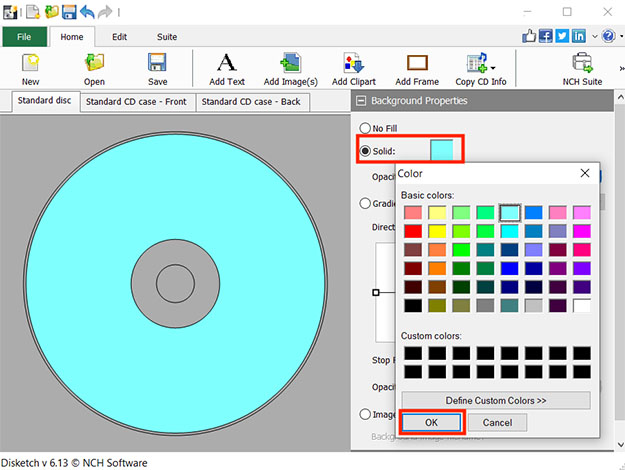
- Add a background color or background image to your CD label. Click Solid and click the color box next to it to add a custom color as your background under the Background Properties panel located on the right side of the window. Click OK to save your selection. Select Image to upload your own image as your background.
- Click Add Text on the home toolbar to add a text to your CD label. Type your desired text into the text box in the Text Properties panel. You can customize the font size, style, color and text position.
You may also add clip art, frames, or copy CD info. Play around with different options to find the best one for your project.
The help manual provides greater details on each of these features:
http://help.nchsoftware.com/help/en/disketch/win/help.pdf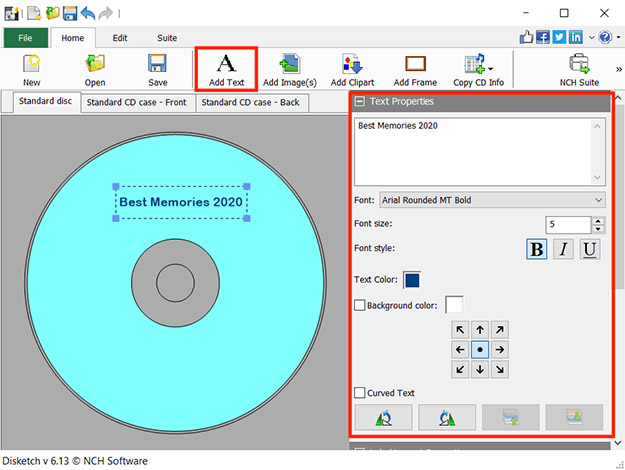
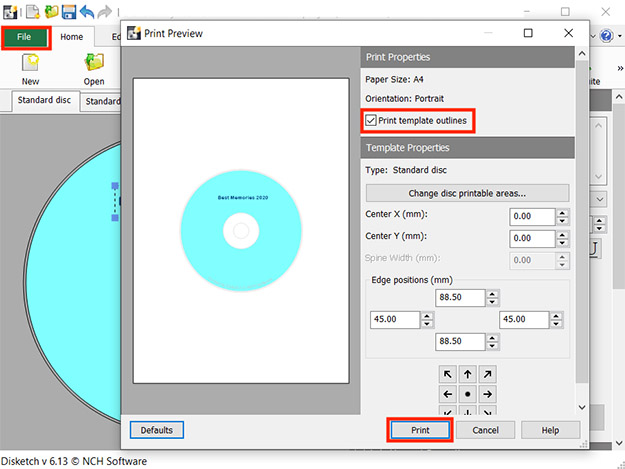
- Once you are finished editing your CD label, click Print in the File menu. The Print Preview will open where you can review your project. Make sure to select Print Template Outlines if you want the outlines to be printed for easier cutting. Adjust the Print and Template Properties according to your needs, then click Print to print your CD label.
Like what you see?Download Disketch here: Simply download and install Disketch CD Label Maker to begin. | |