We all know the idiom - a picture is worth a thousand words. What’s a photo collage worth then?
Whether you want to showcase your recent holiday or explain how to use a product, a photo collage can tell a story that is uniquely yours in a way standalone images can’t. However, successful photo collage making is an art form and having the right collage maker can make a significant difference to your final product if you want it to stand out in the living room or Facebook and Instagram.
This article will show you how to make a photo collage using simple collage templates and guided instructions on PhotoPad, the easiest and quickest collage maker, in just a couple of steps.
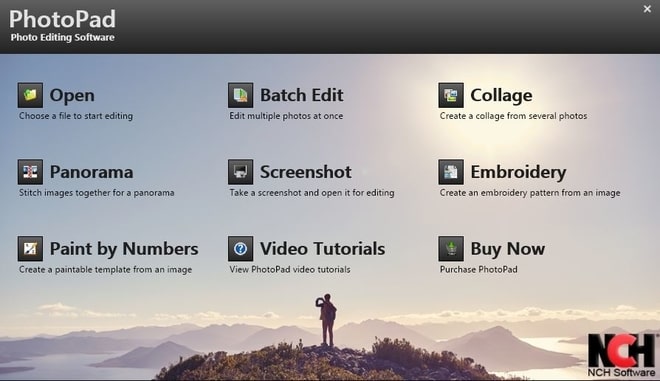
Download and install PhotoPad Photo Editor. Follow the installation instructions, launch the program and select the Collage option on the first window to begin collaging.
2. Add Photos to Collage
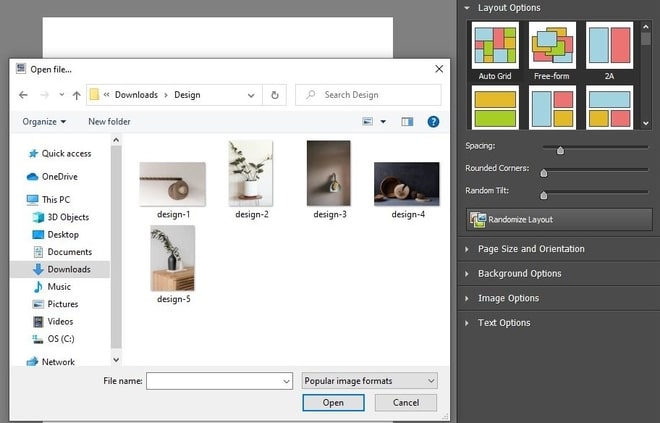
Click the Add Images button in the Collage Editor window and select the images to import into the program. You can also drag and drop photos directly into the collage wizard.
3. Adjust Collage Canvas Size
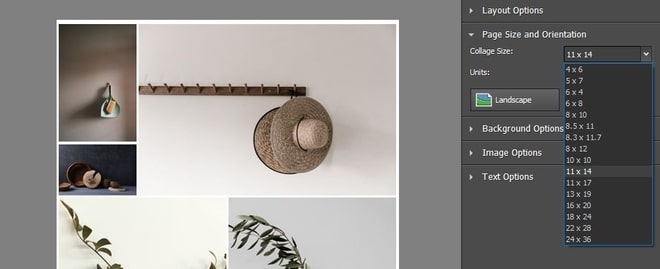
Under the Page Size and Orientation tab, adjust the canvas size to determining the size of your collage. For example, 5 x 7 inches is ideal for a postcard or 8 x 10 inches is ideal for a common photo frame.
4. Add Background to Collage
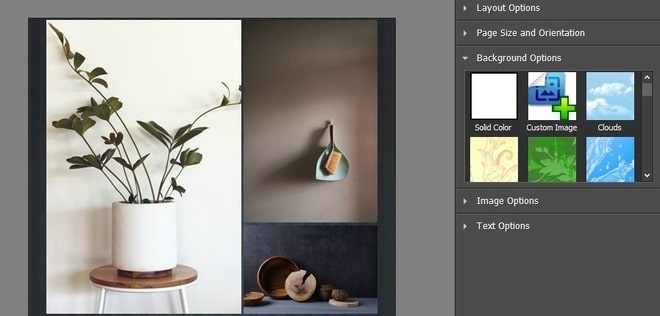
Under the Background Options tab, select a background for your collage. Backgrounds include a range of patterns, designs, solid colors or a custom image.
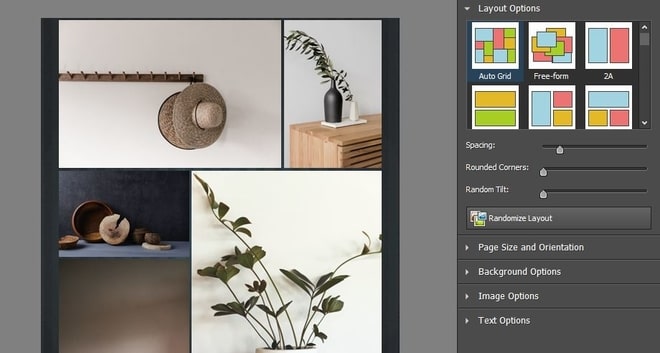
5. Choose Collage Layout
Under the Layout Options tab, select your desired layout style or grid from the range of layouts available. To rearrange the photos within the layout, click the image and drag it to the position where you would like it, which will cause the image to swap places. Alternatively, click the Randomize Layout button to automatically rearrange the images randomly.
Select the Free-Form layout option for complete control over the size and positioning of your photos.
To further adjust the layout settings such as spacing, padding and angles, use the different sliders present to adjust the collage accordingly.
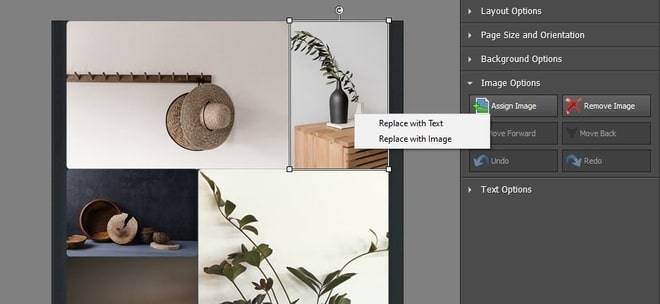
6. Replace Image with Another Image or Text
To replace one of the photos with another, select the image, right-click and choose Replace with Image to replace the photo.
To replace one of the photos with a text block instead, select the image, right-click and choose Replace with Text to replace the photo with text. Under the Text Options tab, enter your text and update the font settings.
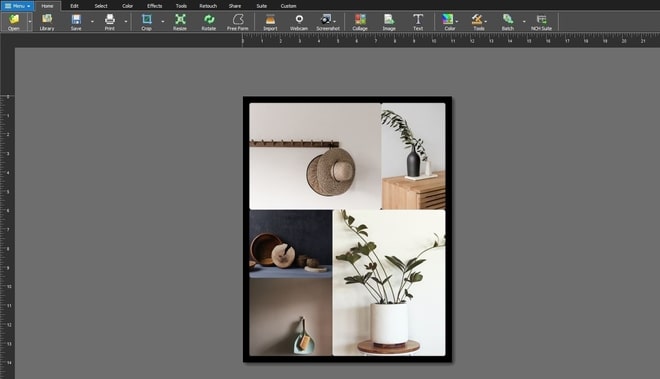
7. Make a Photo Collage
Once you are finished making your collage, click the Create button to bring your collage into the PhotoPad application where you can further edit the collage, add text fields, or apply any effects or filters as desired.
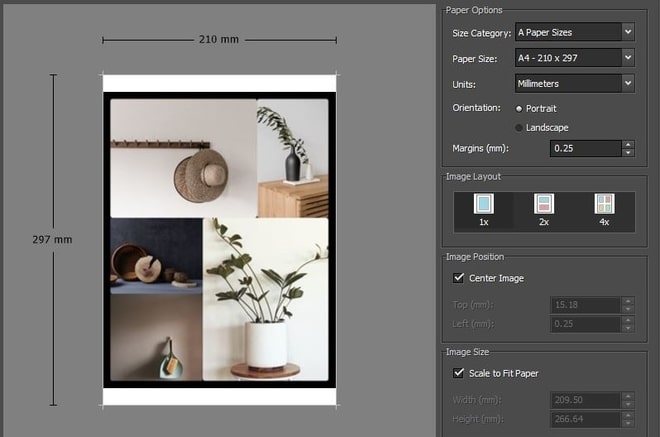
8. Export or Print Photo Collage
Click the Save button in the main toolbar and save your new photo collage to share with family and friends or upload it directly to social media. To print your photo collage, click the Print button in the main toolbar.
And there you have it, you have successfully learned how to make a photo collage in just a couple of easy steps. Download PhotoPad photo editor free to start creating photo collages today! Happy Collaging!