How to Print Photos

A guide to demonstrate how to print photos in PhotoPad

PhotoPad is an easy to use photo editor.

Download, Install and Launch PhotoPad Photo Editor on your computer.

Download PhotoPad Photo Editor

Download Now

  1. Download and install PhotoPad Photo Editing Software.

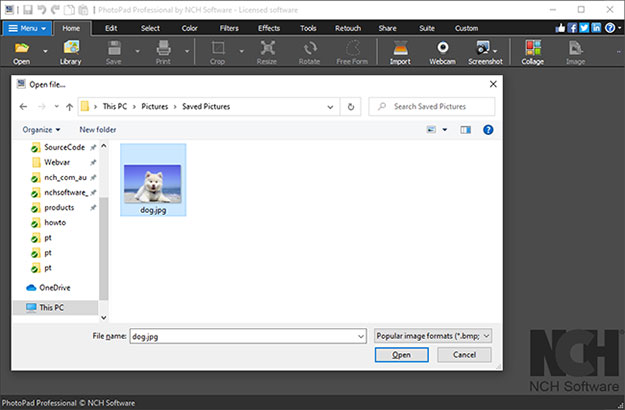
  2. Open your image into PhotoPad by pressing Ctrl + O on your keyboard or by dragging and dropping it directly into the program.

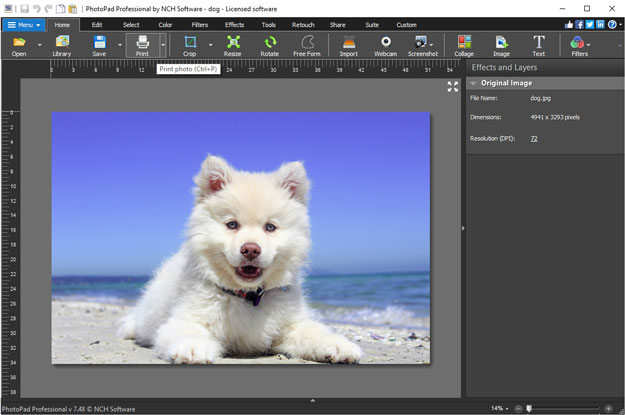
  3. Open the Print dialog by clicking the Print button on the Home tab toolbar, or select File then Print to open the Print dialog.

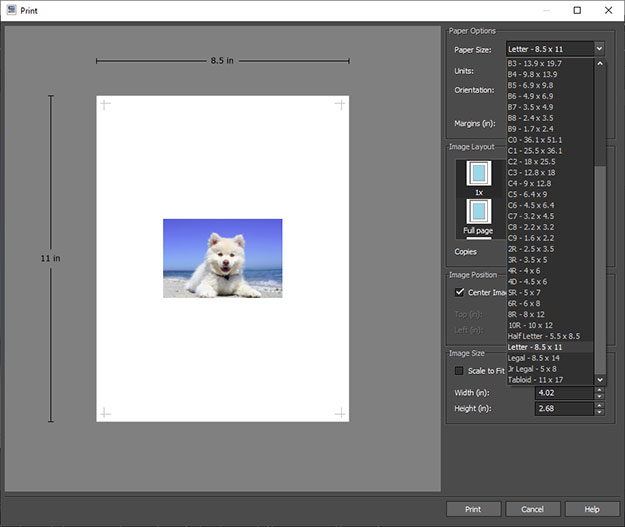
  4. Under Paper Options, select the Paper size using the dropdown list. Options include A, B or C Paper Sizes, Photo Paper Sizes, and US Paper Sizes.

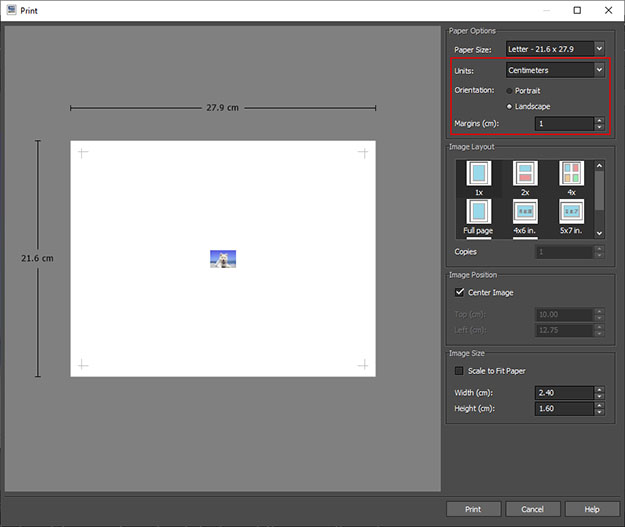
  5. You can choose the units used in this dialog by selecting either Inches, Millimeters, and Centimeters in Units. The Orientation radio buttons lets you choose either Portrait or Landscape. Finally, you can set the minimum distance between the page edge and the print area by setting the Margins value.

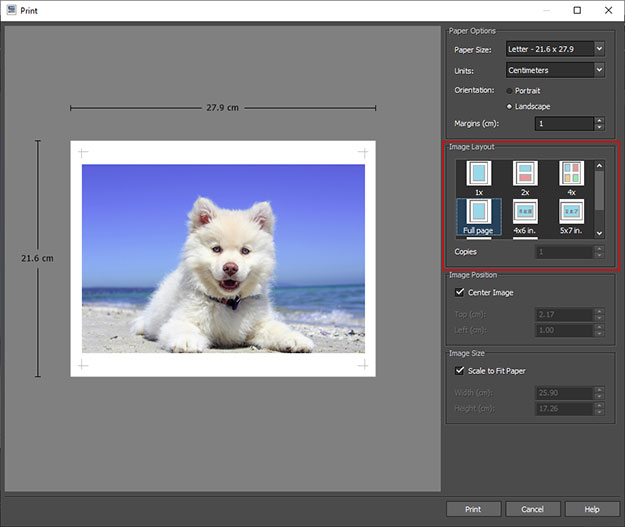
  6. Use Image Layout to quickly choose between one, two or four duplications of the image on the print page.

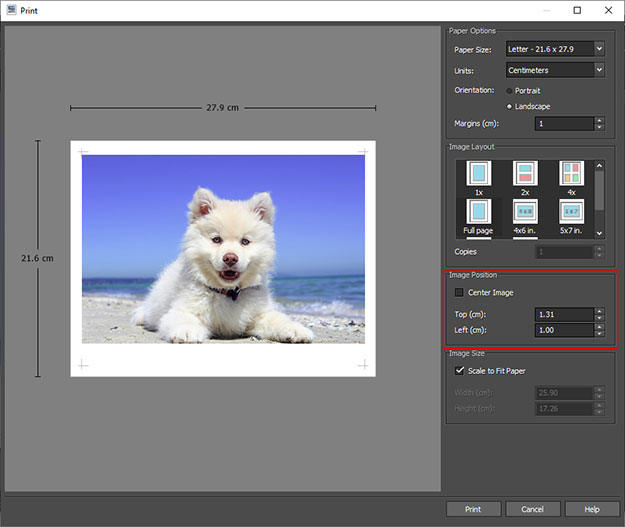
  7. Under Image Position you can choose to automatically center the image by checking Center Image, or, with Center Image unchecked, you can choose where to position the image by setting its Top and Left corner position.

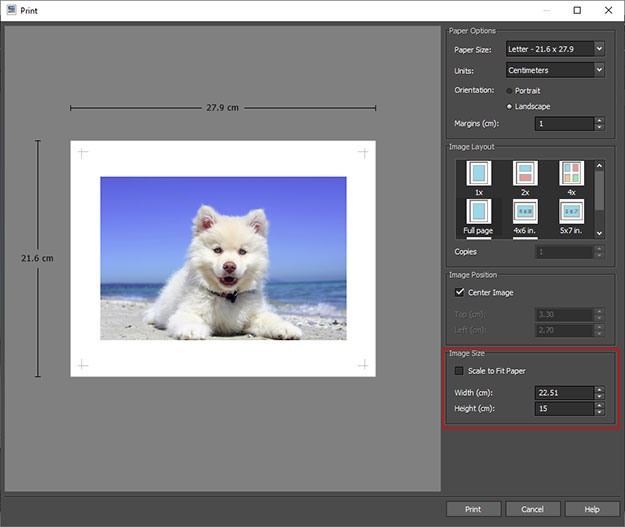
  8. To set the Image Size simply check Scale to Fit Paper or, set the Width or Height manually. As the aspect ratio is fixed in this dialog, setting Width or Height will automatically set the value of the other dimension.

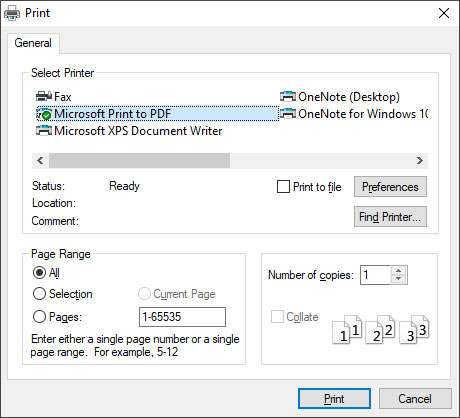
  9. When you are finished, click Print. This will open the General Print dialog where you can choose which Printer to use.


Like what you see?

Download PhotoPad here:

Download Now

Simply download and install PhotoPad Photo Editor to begin.

Download PhotoPad