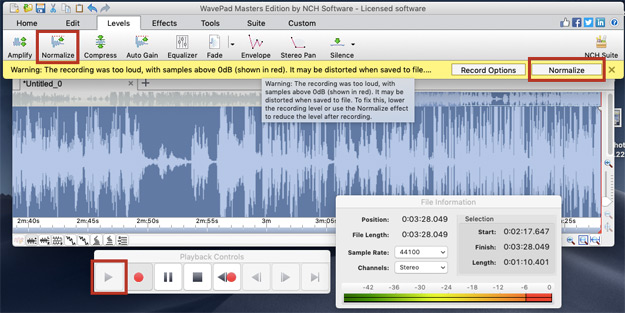
WavePad is an easy-to-use audio editor that you can use to record your voice, music, or any audio file. WavePad is the perfect program if you want to make music, share your ideas, give online lectures and tutorials, blog, create a podcast, or just want to have fun recording your voice.
- WavePad Sound Editor
- A Mac Computer (Works on Mac OS X 10.5 and above)
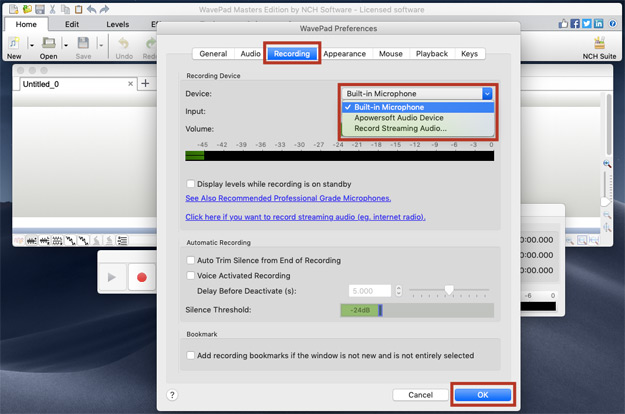
- A Microphone or Headset
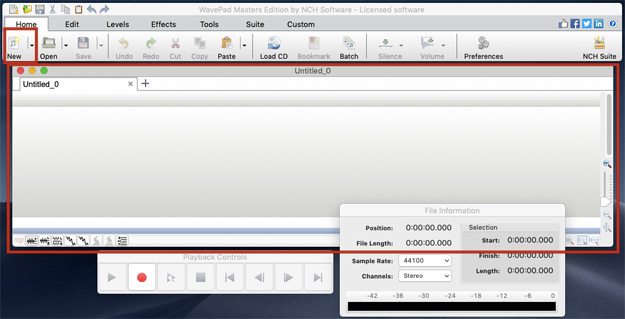
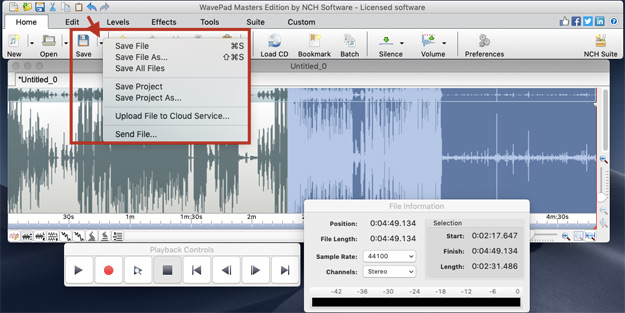
Download, Install and Launch WavePad Sound Editor on your computer.
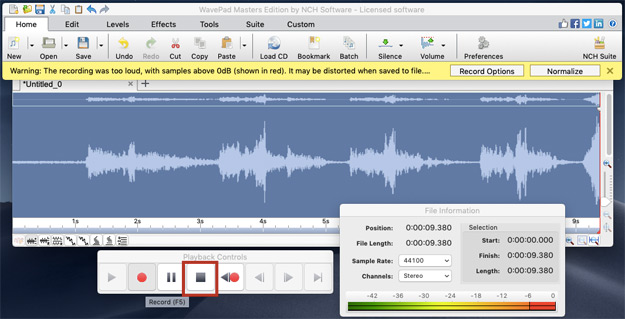
Tip: Using a sound booth box will help with the quality of your recording if you do not have a professional recording room.