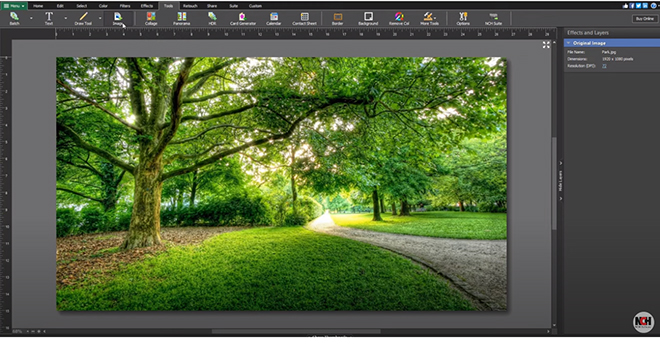
Go to 'Tools'. Click on 'Image' and select the background image that you would want to use.
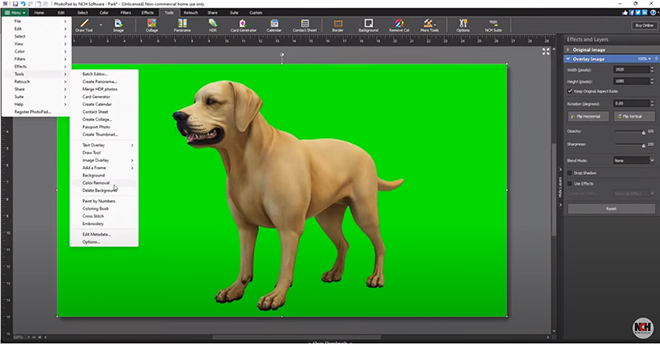
Step 2: Add Front Image with Green Screen
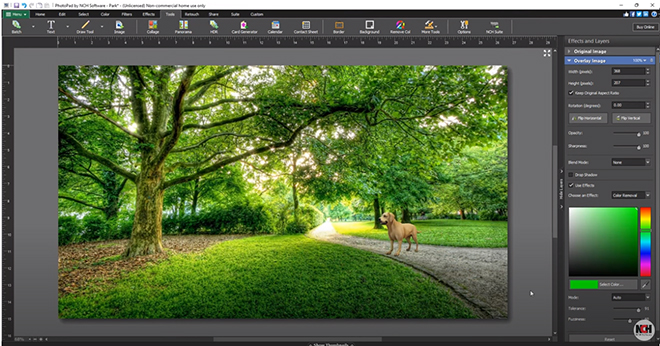
Add the front image (with green screen) using the same steps and go to 'Tools' and select 'Color Removal'.
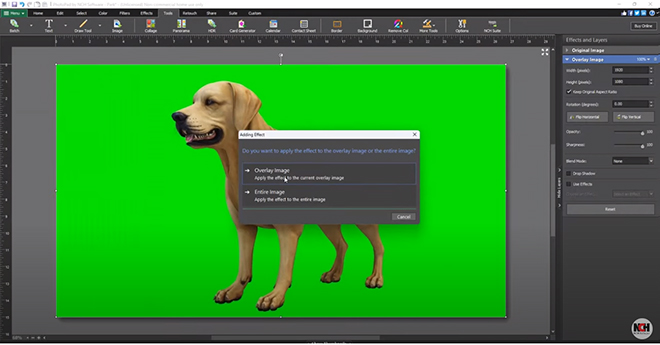
Step 3: Apply the Effect
After selecting the 'Color Removal', it is time to apply the effect to the 'Overlay Image'. This will remove the green screen from your front image completely.
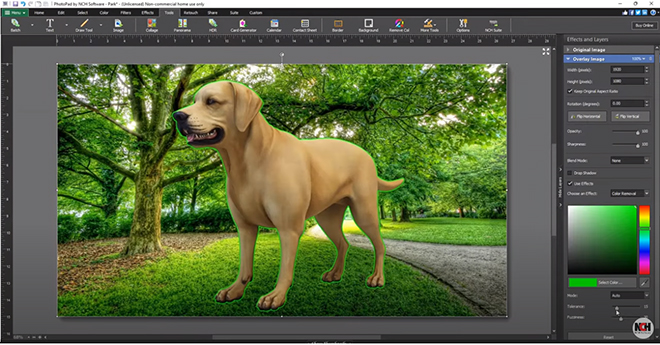
Step 4: Fine-tune the Tolerance and Fuzziness
The overlay image might need color adjustments, so their 'Tolerance' and 'Fuzziness' can be adjusted under the 'Overlay Image' from the 'Effect and Layers' section on the right.
Step 5: Adjust the Overlay Image
To adjust the overlay image to fit the background, you need to make sure it fits well in the background.
You can also use the background removal tool to select and delete or replace any background.