How to Stitch Panorama in PhotoPad

A guide to demonstrate how to stitch panorama in PhotoPad

PhotoPad is an easy to use photo editor.

Download, Install and Launch PhotoPad Photo Editor on your computer.

Download PhotoPad Photo Editor

Download Now

  1. Download and install PhotoPad Photo Editing Software.

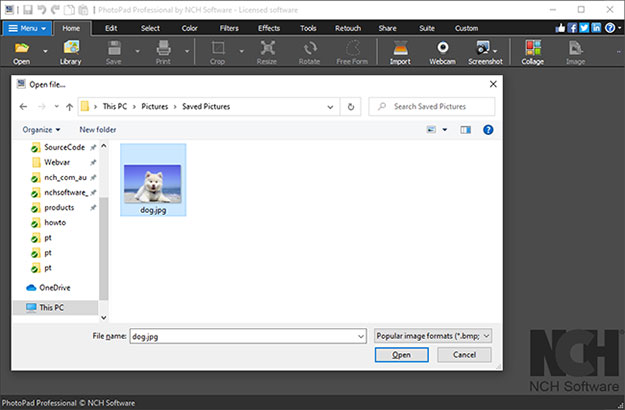
  2. Open your image into PhotoPad by pressing Ctrl + O on your keyboard or by dragging and dropping it directly into the program.

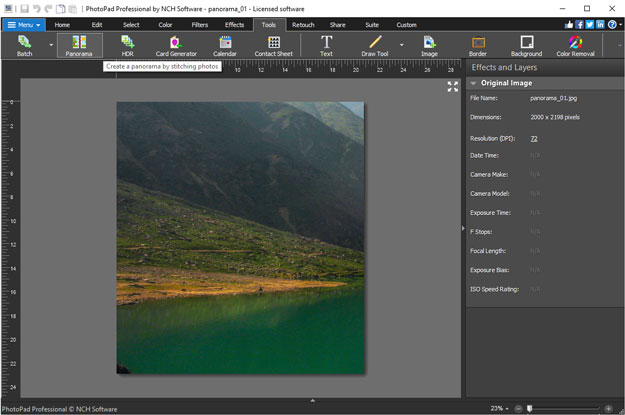
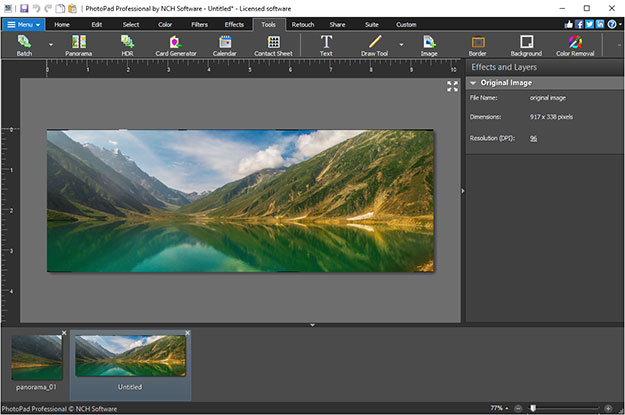
  3. On the Tools tab, click the Panorama Tool to open the panorama editor.

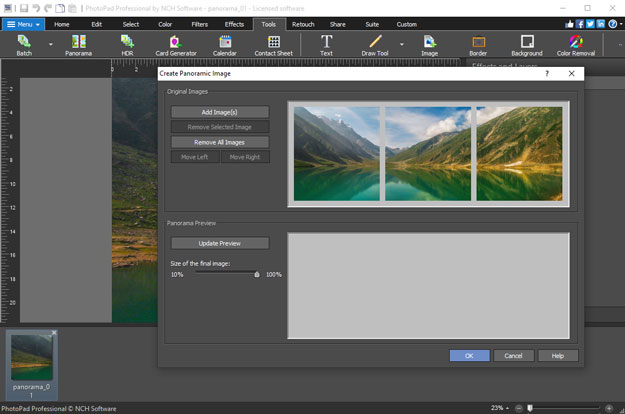
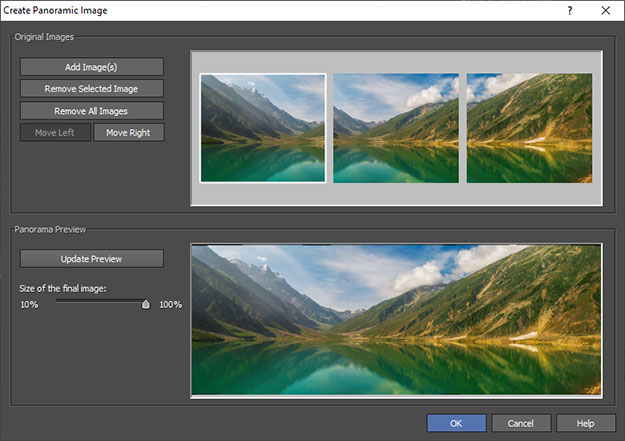
  4. To add images, click the Add Image(s) button.

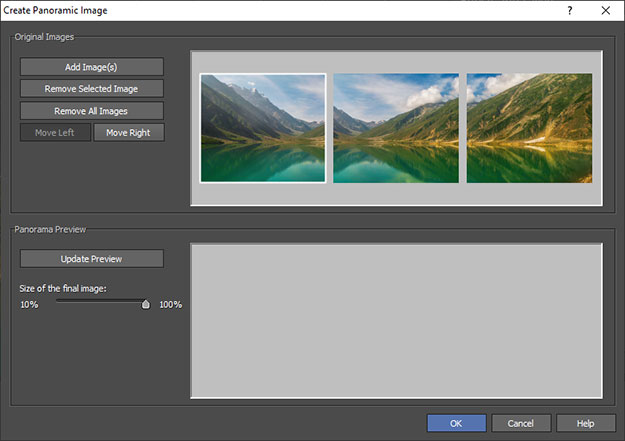
  5. After adding images, you can rearrange their order as needed by clicking the Move Left and Move Right buttons accordingly. Alternatively, you can simply rearrange the order of the images by dragging and dropping.

  6. With the panorama editor, you can also preview the image as needed by clicking the Update and Preview button.

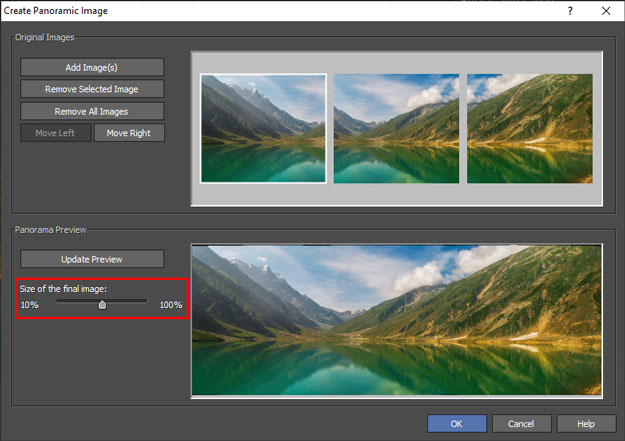
  7. Finally, set the size of the final image by using the Size of the Final Image slider. You can select from 10% to 100% as needed.

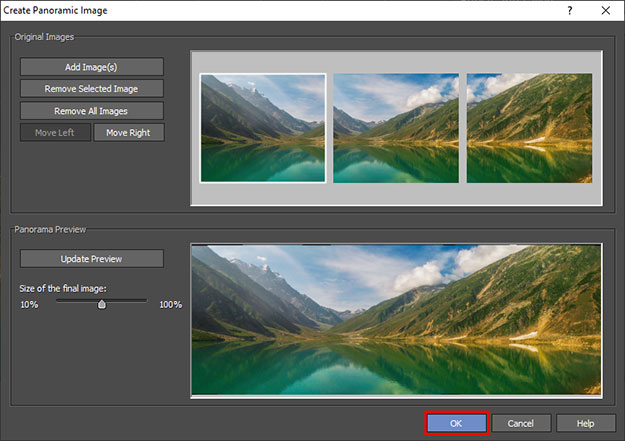
  8. Click the OK button to create the Panorama


Like what you see?

Download PhotoPad here:

Download Now

Simply download and install PhotoPad Photo Editor to begin.

Download PhotoPad