How to use the Eraser Tool

A guide to demonstrate how to use the eraser tool in PhotoPad

PhotoPad is an easy to use photo editor.

Download, Install and Launch PhotoPad Photo Editor on your computer.

Download PhotoPad Photo Editor

Download Now

  1. Download and install PhotoPad Photo Editing Software.

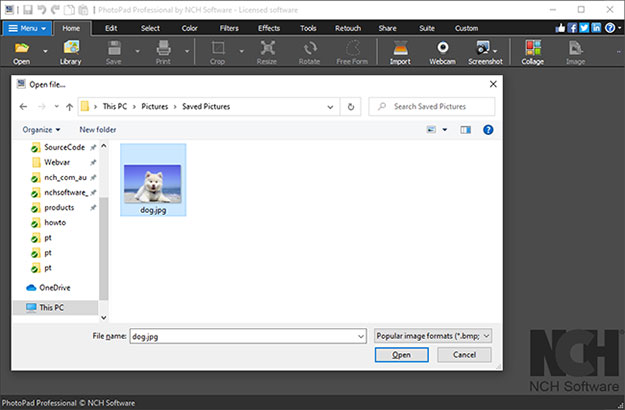
  2. Open your image into PhotoPad by pressing Ctrl + O on your keyboard or by dragging and dropping it directly into the program.

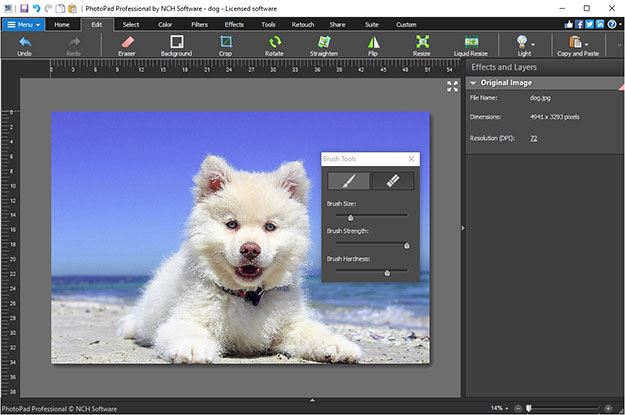
  3. To open the Eraser, click Eraser under the Edit tab. This will open the Brush Tools dialog that contains the restore brush and the eraser.

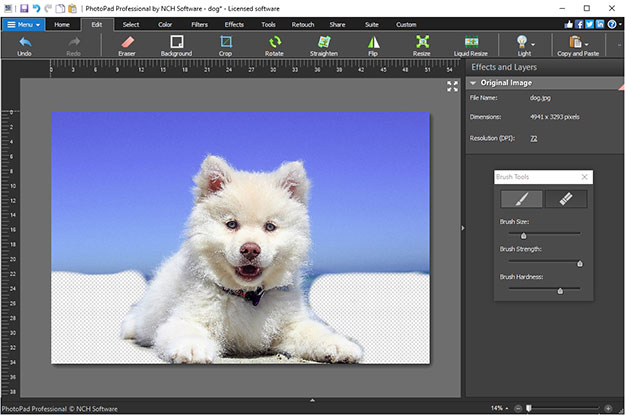
  4. Click and drag on your image where you would like to erase or restore.

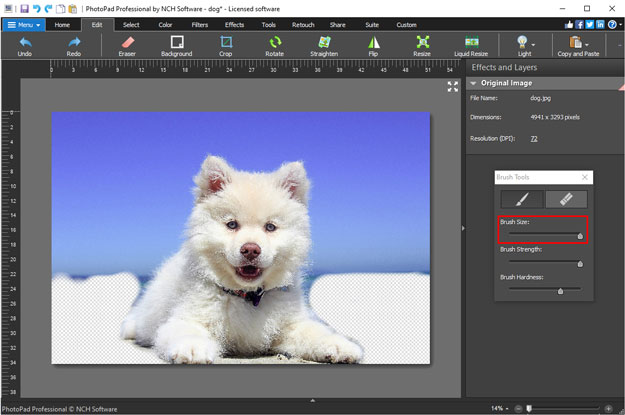
  5. Use the Brush Size slider to adjust the size of the cursor and so erase or restore more or less of the original image in one sweep of the cursor.

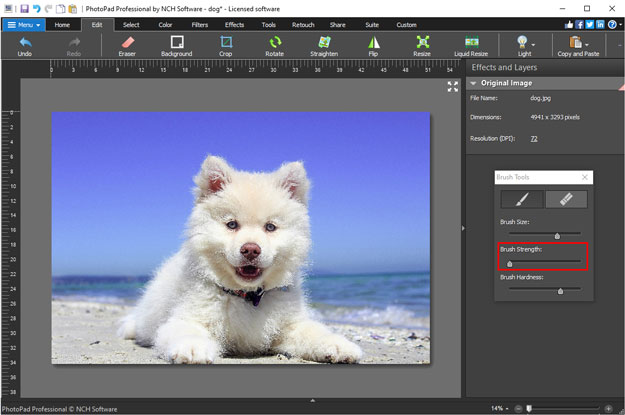
  6. The Brush Strength slider set all the way to the right will delete or restore the image under the cursor completely. As the slider is adjusted to the left, the strength of the erase or restore diminishes until they have no effect.

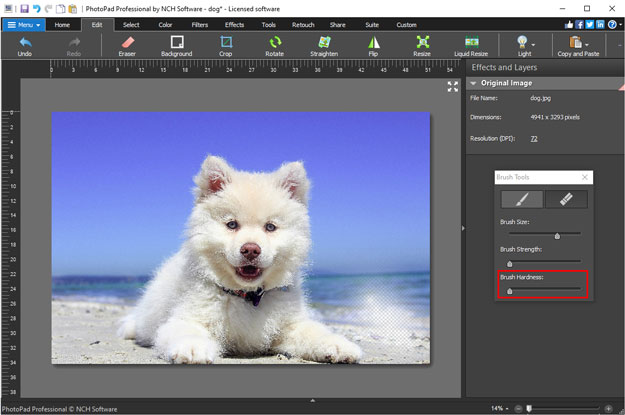
  7. The Brush Hardness slider allows you to adjust the strength of the eraser or restore brush with the radius of the cursor. If the slider is all the way to the right, then the same strength will apply evenly over the entire radius of the cursor. As the slider is moved to the left, the strength of the brush decreases with increasing radius of the cursor. When fully to the left, the strength of the brush is a tenth at the cursor edge as it is at the cursor center.

  8. Click the Close button in the upper right corner to close the Brush Tools. Any layer that had an eraser applied to it will have an eraser icon on the layer title. You can reopen the Brush tools by clicking this icon.


Like what you see?

Download PhotoPad here:

Download Now

Simply download and install PhotoPad Photo Editor to begin.

Download PhotoPad