How-to Guides

How to Watermark your Photos
A guide to demonstrate how to watermark your photos with PhotoPad
PhotoPad is an easy to use photo editor with an intuitive batch processing tool to add a watermark to many photos at one time.
Download, Install and Launch PhotoPad Photo Editor on your computer. |  |
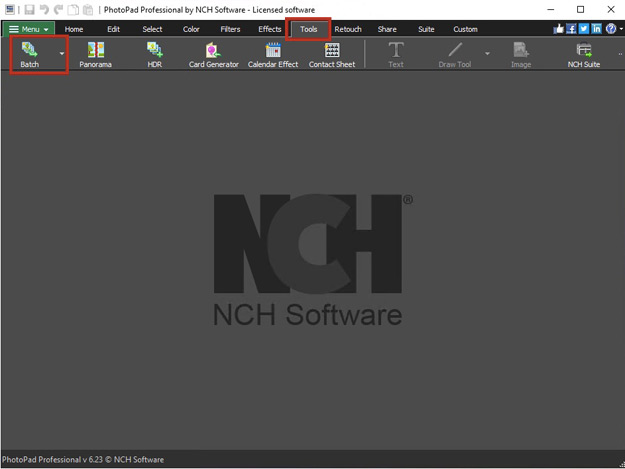
- Select Batch Edit on the start screen. You may also go to the Tools tab and click the Batch button.
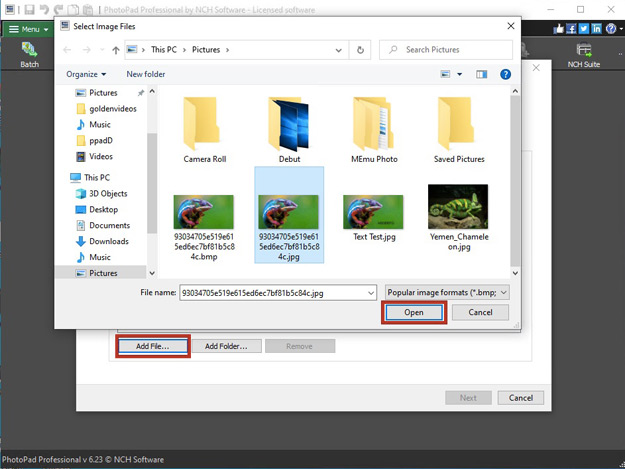
- Click Add File and select the photos that you would like to watermark. Click Open to add the files to your batch list.
Note: You can select multiple files at the same time by holding down the Shift or Ctrl keys while selecting. You may also use the Add Folder button in the wizard to easily select all images within a folder and its sub-folders.
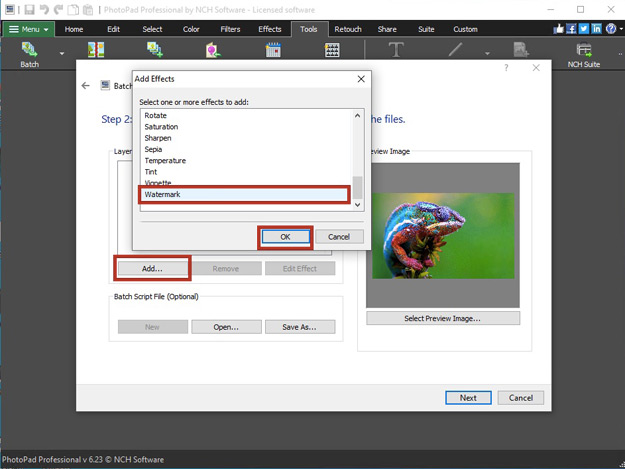
- In Step 2 of the Batch Editing Wizard, click the Add button to open a list of effects. Scroll to the bottom, select Watermark and click OK.
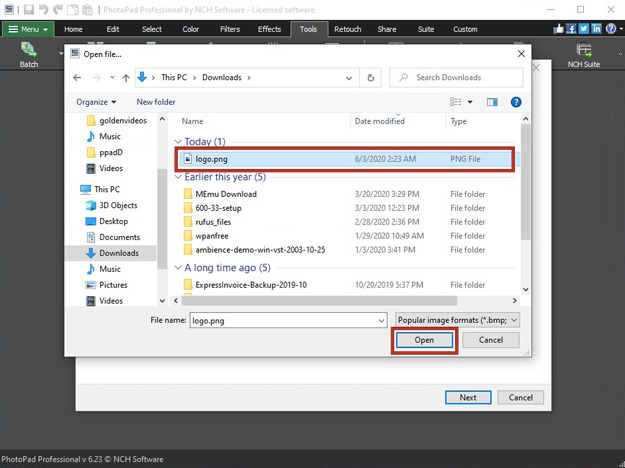
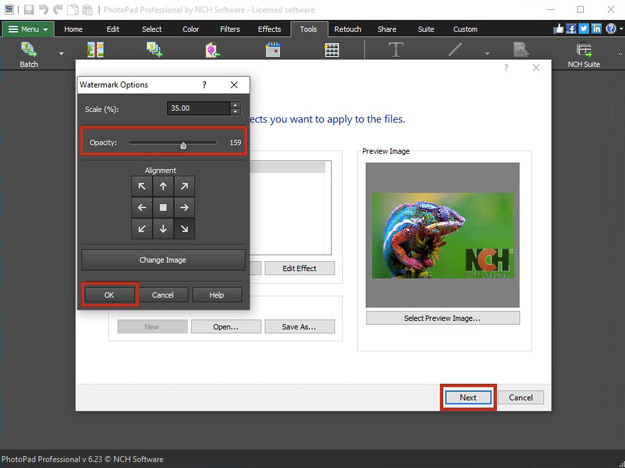
- Browse to the file that you would like to use as a Watermark and click Open.
Note: We recommend using a PNG file with a transparent background for the best results.
- Your Watermark will appear on top of your image in the preview on the right of the wizard.
Adjust the Scale(%) to resize the watermark relative to the height of your image.
Move the Opacity slider to the left to increase the transparency of the watermark image.
Click the Alignment buttons to reposition the watermark.
Once you are done with your adjustments, click OK to save your changes. Then, click Next.
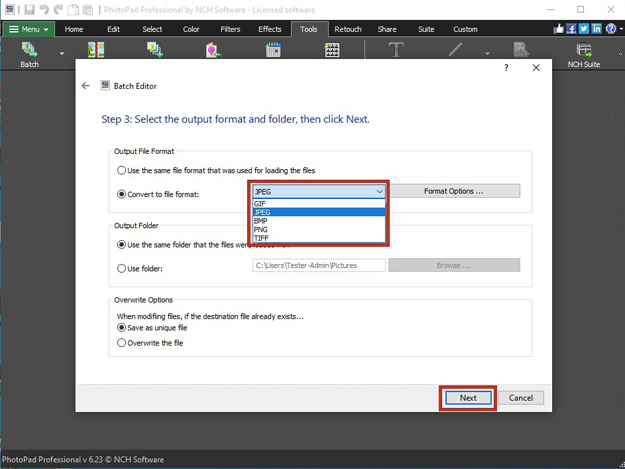
- Select the output format from the file format drop-down menu. You may also select an output folder or use the same folder that the files were loaded from. Click Next to save your watermarked photos.
Note: Always select Save as unique file if you are saving to the original folder and do not want to overwrite the original file.
Like what you see?Download PhotoPad here: Simply download and install PhotoPad Photo Editor to begin. | |