How to Resize AI images with Pixillion Image Converter Software
Image files come in all sizes. If you plan on using AI files for websites, documents, social media, email, printing, and more, using the right AI image dimensions is important to avoid issues. This is where resizing an image can help you easily adjust the file dimensions to meet your desired specifications. This guide will show you how to resize AI images in seconds so you can continue your project with ease.
1. Download Pixillion Image Converter Software
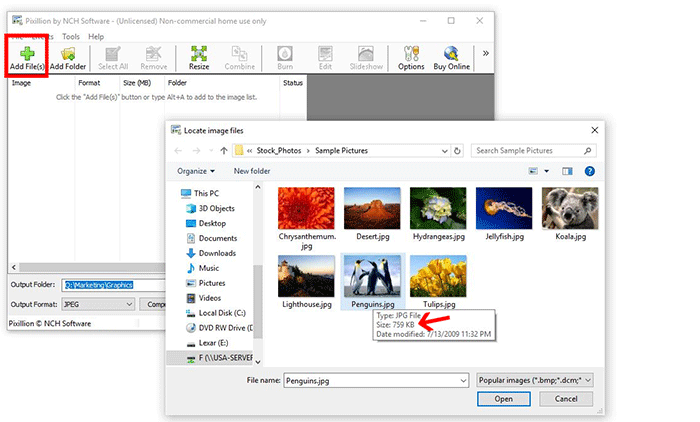
2. Import AI Image into the Program
Click on the Add Files button within the main toolbar and choose the AI image or images you wish to resize. You can also drag and drop your AI files directly into the program to resize them as well.
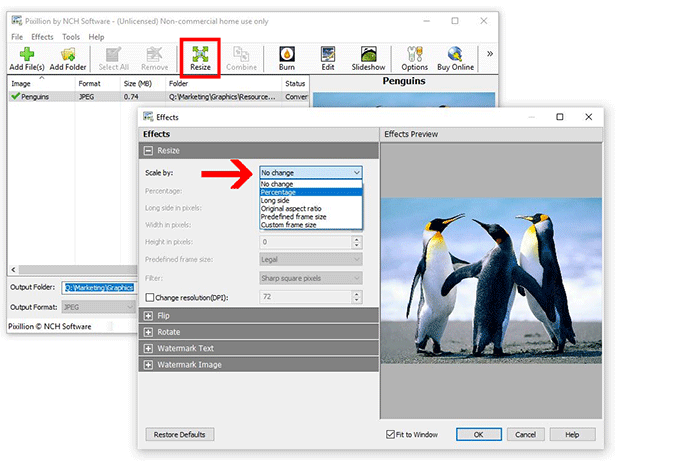
3. Choose the Resize Settings
Select your AI image and click on the
Resize button within the main toolbar to open the effects window. Under the Resize tab, choose how you would like to resize your AI image. You can scale your image to resize it by percentage, long side, original aspect ratio, predefined frame size, or custom frame size by entering the image dimensions.
Pixillion AI Resizer also includes a variety of options to handle pixelation including
Super Resolution, which uses Artificial Intelligence and machine learning to automatically resize the AI file without losing quality.
Once you have selected your resize settings, click Ok to close the effects window.
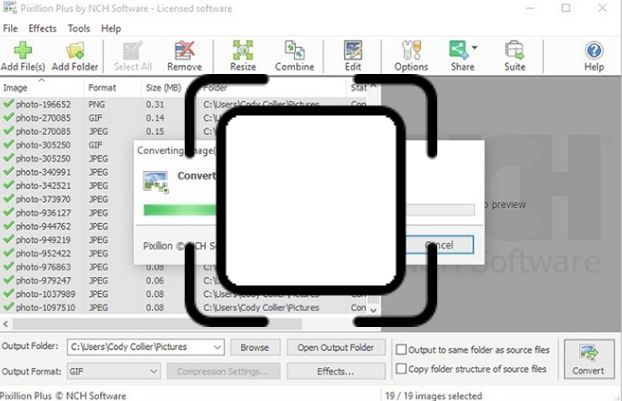
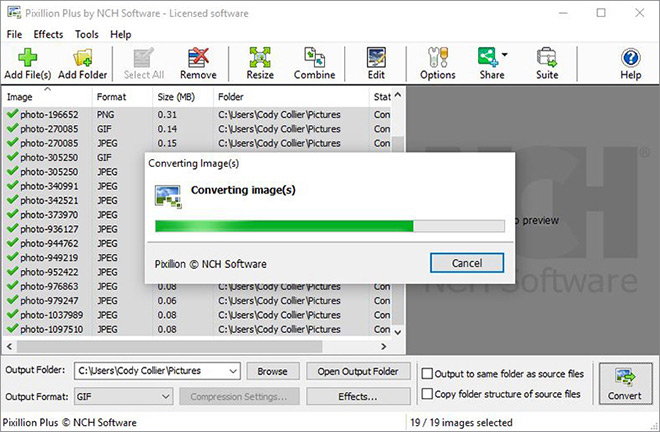
4. Resize AI Image
Choose your
Output Folder where you would like your resized AI image to be saved after the conversion. You can also choose to convert your resized AI image as a different file type. Hit
Convert to complete resizing your AI image.
Download Pixillion AI Image Resizer now to resize AI images, and enjoy all that the most stable and easy-to-use AI software has to offer.
Like what you see? |  |