How to take a screenshot on a Mac or PC with PhotoPad

A guide to demonstrate how to take a screenshot on Mac or PC with PhotoPad

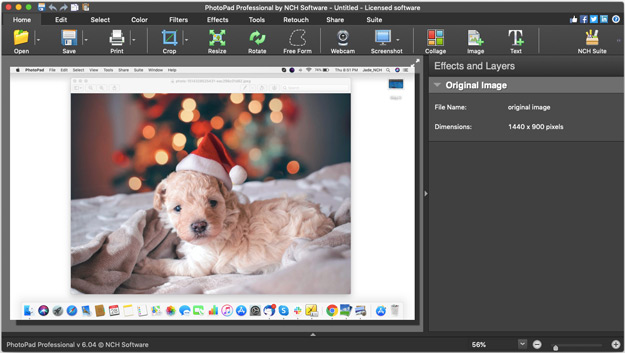
PhotoPad is designed to be easy to install and intuitive. You will be able to take a screenshot of your window easily.

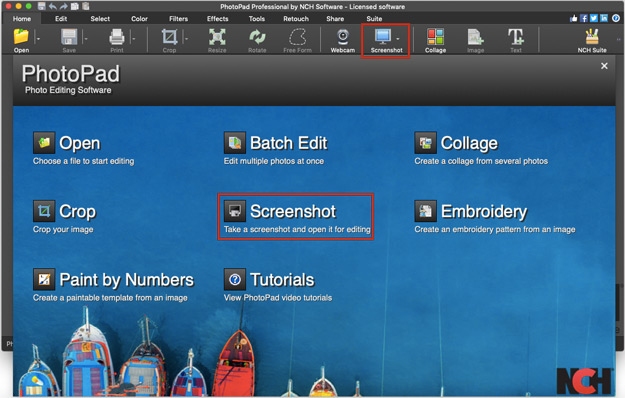
Download and Install PhotoPad Photo Editor and launch it on your computer.


Download PhotoPad Photo Editor

Download Now

  1. Click Screenshot on either the start screen or the Home toolbar. Click Screenshot.

  2. Your entire desktop will be captured if you use the Screenshot option on the start screen or select Entire Desktop from the Screenshot button. Select Entire Desktop from the Screenshot button.

  3. To take a screenshot of a specific selection, Select Custom Selection from the Screenshot button drop-down menu on the home toolbar. Select Custom Selection from Screenshot drop-down menu.

  4. A selection tool will appear over your screen. Click and drag to select a portion of your screen to capture. Release the mouse button or trackpad to take the screenshot.

    Note: Our selection tool is very precise. The selection circle is a magnified view of the pixels directly beneath it. This is helpful to make sure that you get the exact information you want in your screenshot. Click and drag to select a portion of your screen to capture.

  5. Once you are finished, make sure to click the Save button on the home tab to save your changes.

    You have the option to edit your screenshot before saving it. We provide a detailed tutorial that will go over how to edit your photo or screenshot.

    You can find that tutorial here: https://www.nchsoftware.com/howto/how_to_edit_photos.html Click Save to save your changes.


Like what you see?

Download PhotoPad here:

Download Now

Simply download and install PhotoPad Photo Editor to begin.

Download PhotoPad